SSL Certificate Ordering Instructions
The exact steps to complete your SSL implementation will vary depending on which company you choose to purchase your certificate from. We've provided the steps to follow when using SSLs.com as your certificate provider as an example. For other providers, it may as which type of server the certificate will be getting implemented on. Please select IIS (or Windows) depending on the SSL provider.
- Purchase the SSL certificate following the site instructions. You can find information about the different types of SSL Certificates and Types here.
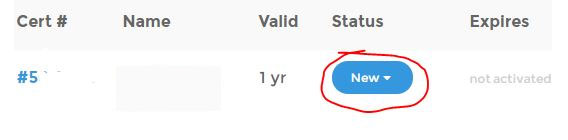
- Once you’ve purchased the certificate, go to your Purchased Certs list and select “new”.
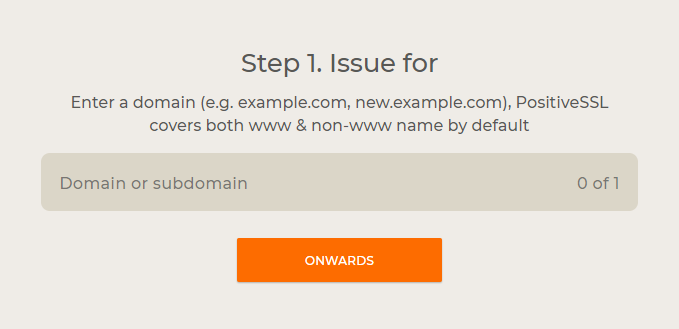
- Enter the domain that we will be implementing the SSL Certificate on:
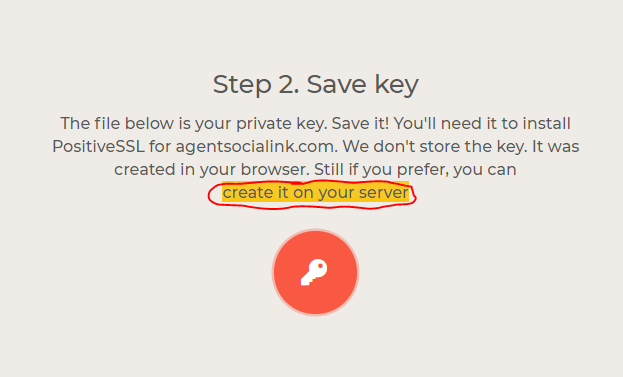
- Select the option to create it on your server:
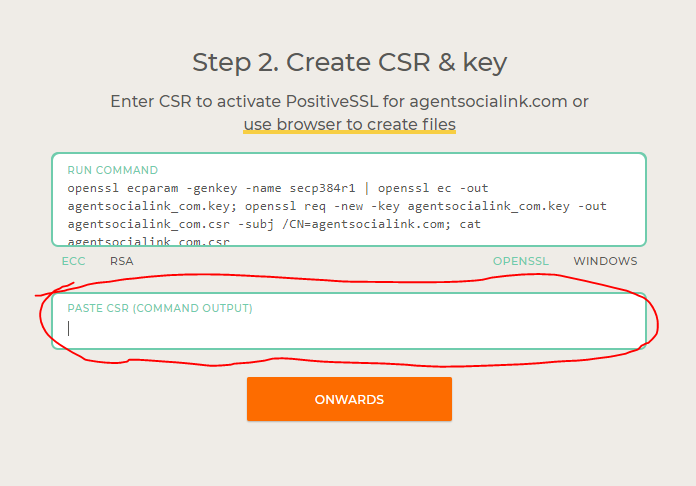
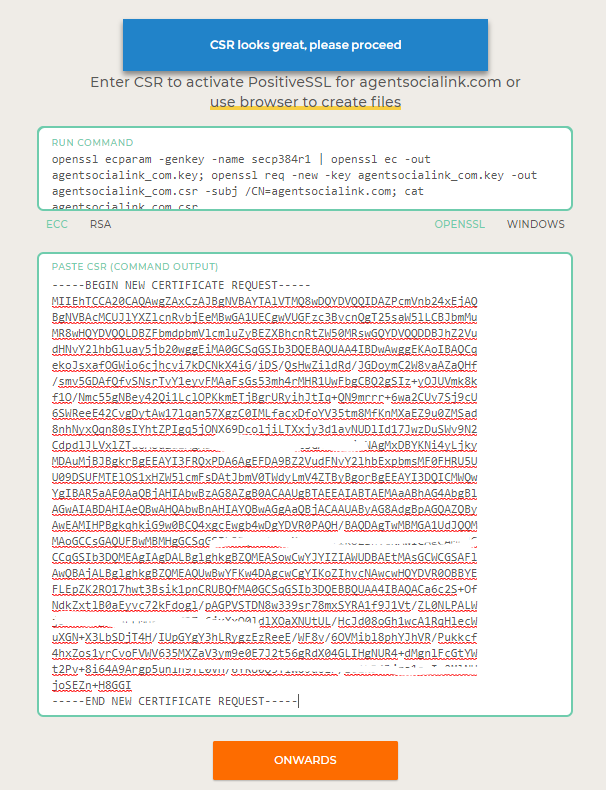
- Copy and paste the CSR text supplied by Passport Online:
Note: if we host your email and you do not currently have one of them options listed, we can create it for you.
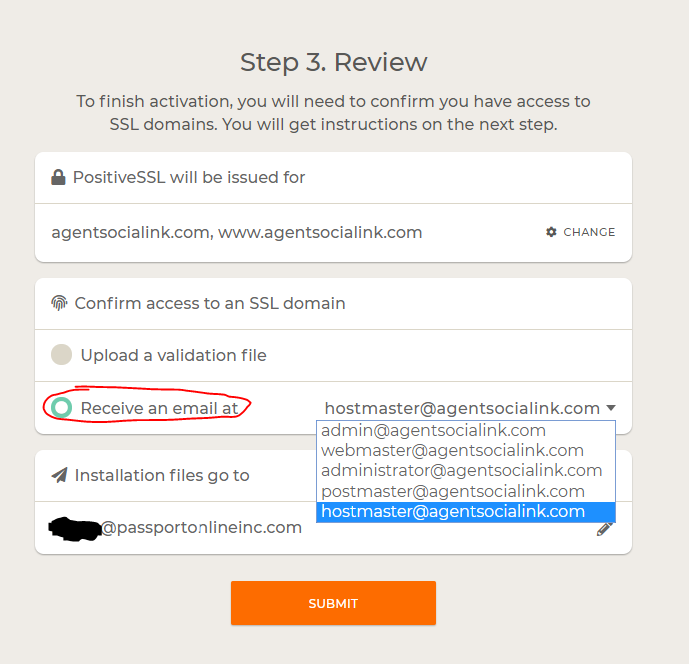
- You will receive an email to verify your domain ownership
- Copy and paste the verification code into the link provided to confirm you own the domain
- You will receive an additional email with an attached file. Forward the zipped certificate to
- Passport Online will complete the proccess to impelement SSL on your site and will inform you when it has been completed.