Rows
In addition to being able to change your page layout, you can also add and delete rows from your page to customize the different page sections.
Adding a Row
There are two different ways you can add a new row to your existing page.
You can add a top or bottom row using the Add Top Row or Add Bottom Row buttons that will show at the top and bottom of the Edit Page respectively.
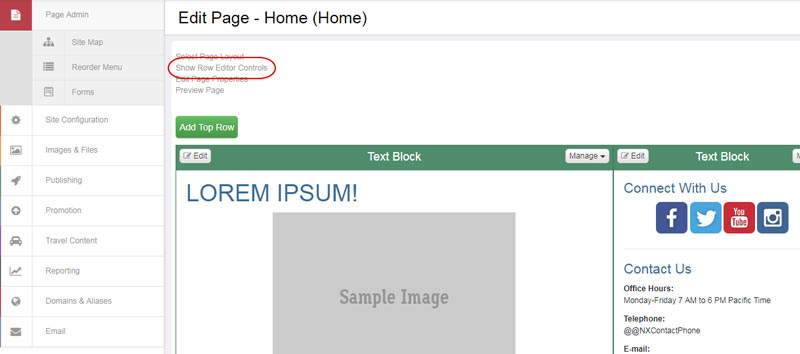
If you want to add a row between existing rows, you can select Show Row Editor Controls toward the top of the Edit Page:
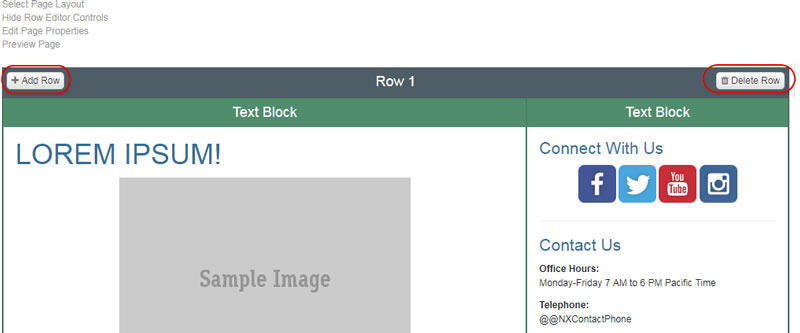
That will update your Edit Page to include Add Row and Delete Row options to each existing row
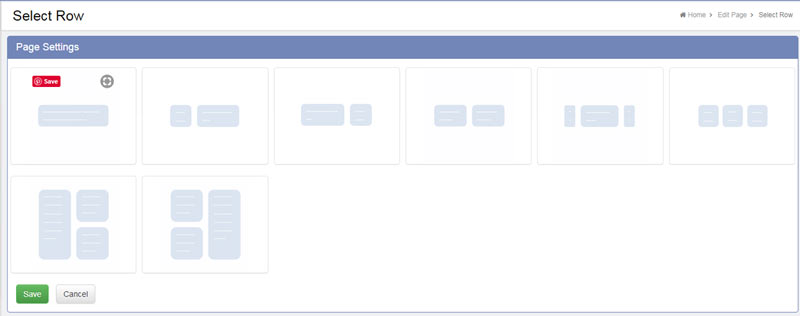
Selecting Add Row will add a new row beneath the existing row and will allow you to select the layout for it:
Deleting a Row
In order to see the option to delete a row, select Show Row Editor Controls at the top of the Edit Page:
You will then see the option to Delete Row at the top right of each row on your page.
Setting Row Width
To change the width of a row, select Manage Row at the top right of the row you wish to change:

Select Row Settings. The option to adjust your width will show:
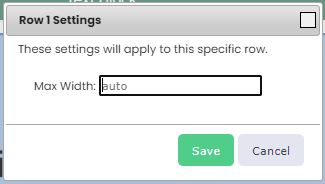
You can add in the width as a pixel amount (for example: 1200 px) or a percentage (for example: 100%).
Note: Not all themes will support rows at a 100% page width.