Adding Images to a Page
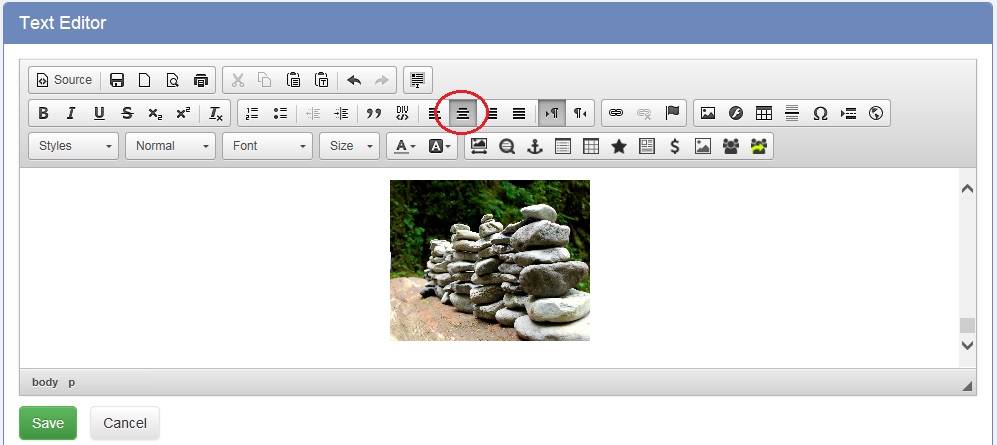
Move your cursor to the page you want your image to be by clicking on the text box with your mouse. Select the Image button at the top of the text editor.

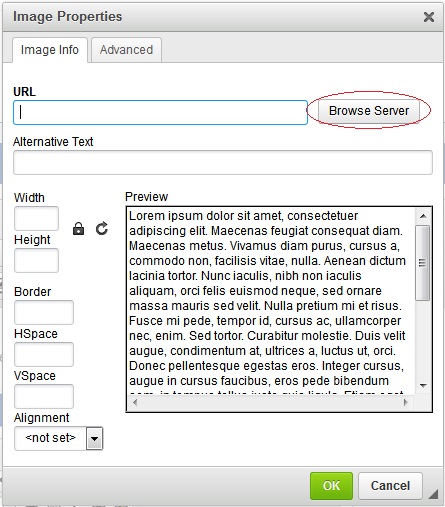
A new window will pop up. Select Browse Server to open your Images and Files. (If you haven't already, you can find out how to upload an image to your Images and Files here).
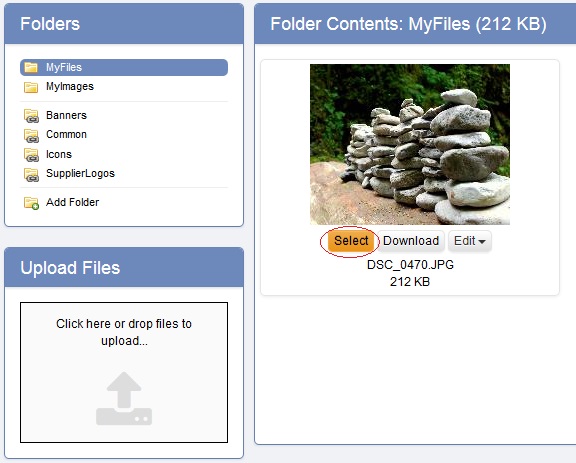
Find the image you want to use and hit Select.
The URL will automatically pull from the image you selected. You'll have a few optional fields you can use as well.
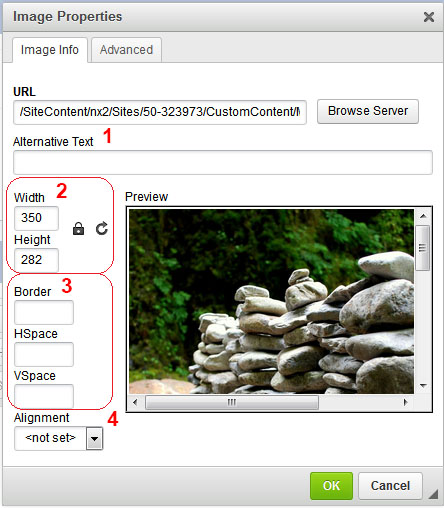
- Alternative Text: Alternative Text ("Alt Text") describes images for site visitors and search engines. Alt Text Tags help a search engine better understand what a site is all about since it can't "see" what a picture or image is. When writing your "Alt Text" tags, remember to use words that people will likely be using when typing in a search engine. This may not help your site ranking directly but can greatly impact your ranking with Google Image search.
Using effective Alt Text will tell your visitor exactly what they will see when they click on the links and ensure that your web pages are accessible. - Sizing: You can resize your image by its width or height. Ensure that the lock image is showing as locked to keep the size ratio the same. You can revert to the original size at any time by selecting the circular arrow image.
- Border and Spacing: You can add a border, horizontal spacing, or vertical spacing to your image. The unit is in pixels.
- Alignment: Select either to right or left align your image.
- Centering an Image: To center your image, leave your Alignment at <not set> and "OK" out of the Image Properties window. Click to the left or right of your image, or use your left or right arrow on your keyboard to move your cursor directly next to the image. Once you see the cursor next to the image, use the center justification button in the editor to center the image: