Offer Groups
An Offer Group is similar to a Target Search but is limited in the number of offers it shows. Offer Groups have more options as far as how you can display on your website because of this.
Creating Offer Groups
Select Travel Content from the menu on the left and then Your Offer Groups.
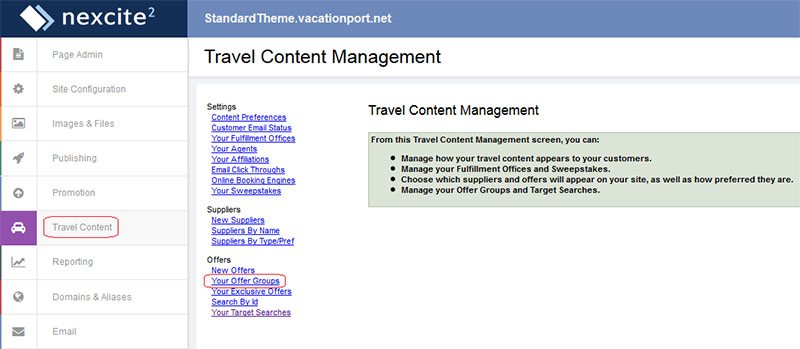
Select the button to Create New Offer Group
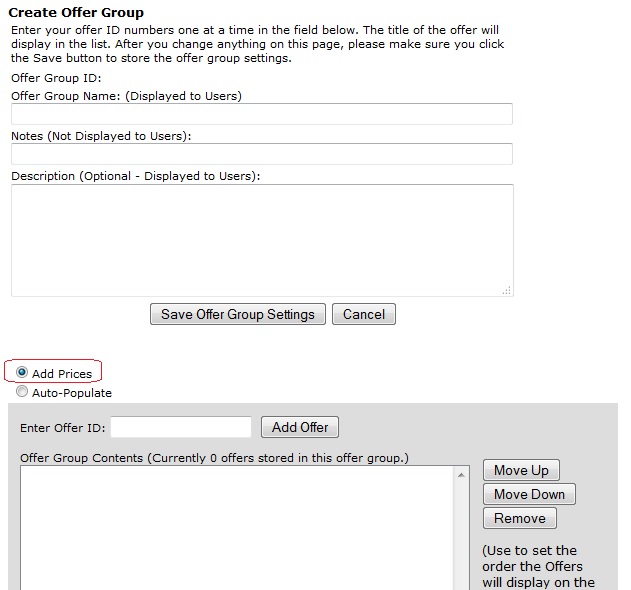
You have two options when creating offer groups as far as where it will pull offers from. You can either give it a list of offer IDs for it to pull from, or you can tell it to pull from a targeted search.
To have it pull from a list of offer IDs, select the option to Add Prices and enter an offer ID into the Enter Offer ID field, and select Add Offer
The other option for creating offer groups is to pull offers from a Target Search instead. To do this, select the option to Auto Populate and then select the Target Search you want to use with the Search drop-down menu.
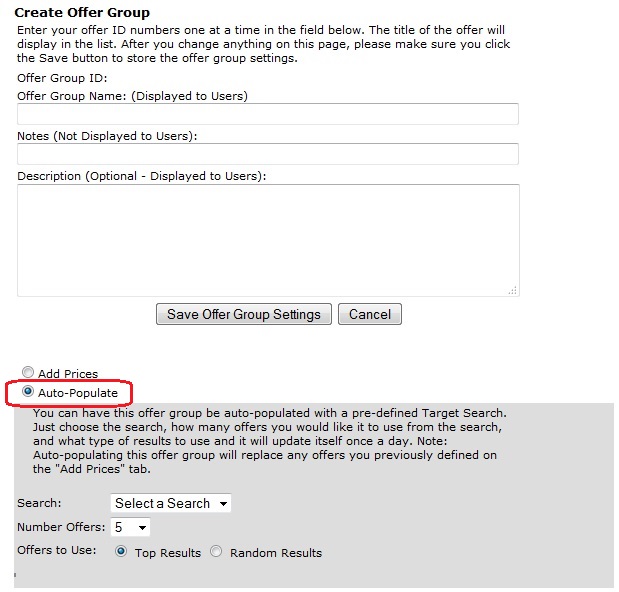
You can also adjust the number of offers to include in your offer group using the Number of Offers drop-down menu. This limits the number of offers that will show.
Adding Offer Groups to Your Website
There are several different options for displaying offers from an Offer Group on your site.
- Displaying as a page
- Displaying within a section as an offer list
- Displaying within a section as an offer highlight
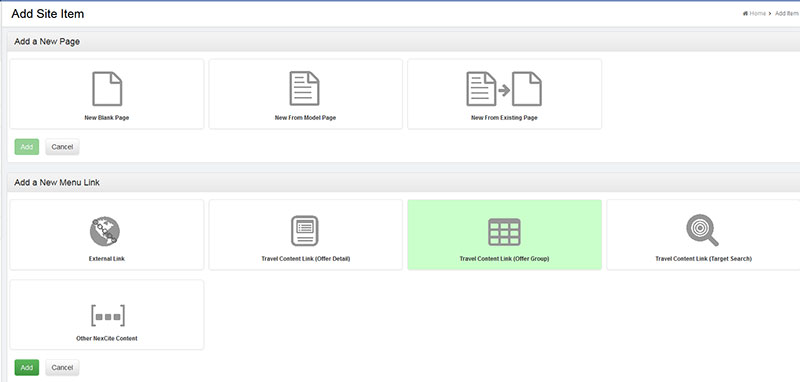
To display an offer group within its own page, create a new page, and select Travel Content Link (Offer Group)
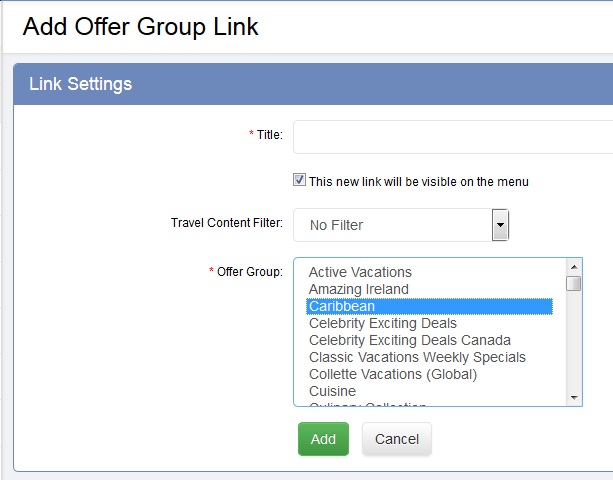
You will then be able to title the page and select the Offer Group you want to use. You can also select if you want to further filter the offers by the Travel Content Filter if, for example, you want only cruises to show.
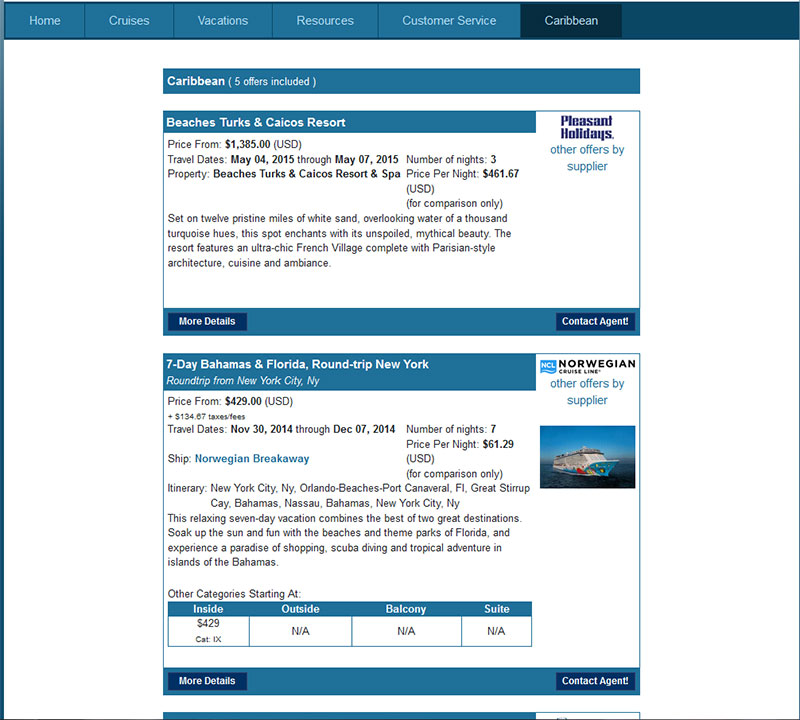
In this example, a Caribbean Offer Group was used. You can see how that displays on its own page:
Within a Section as an Offer List
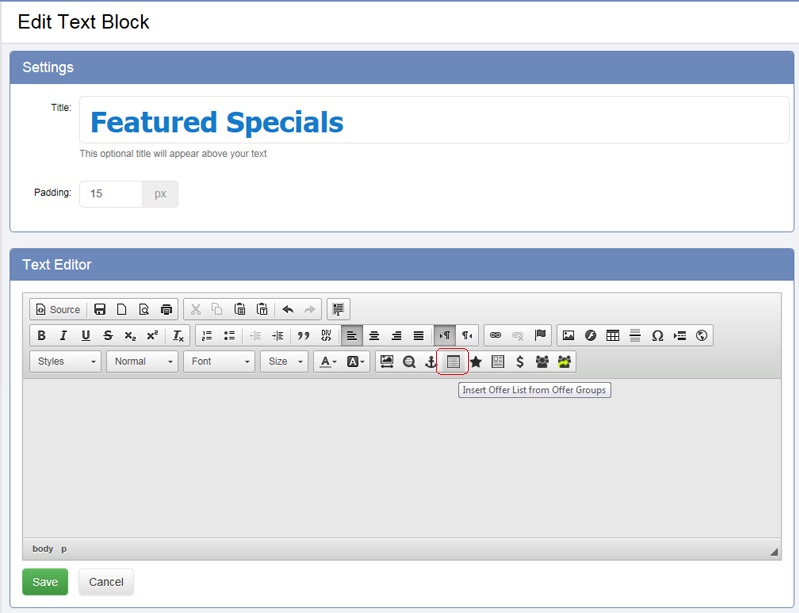
This option allows you to add an Offer Group to a section on a page. Open the text editor of the section you want to add your Offer Group to and select the button to Insert Offer List From Offer Groups (a description of the buttons should appear when you hover your mouse over them).
You'll be given a set of options for how your offer list will display:

Title: This will add a title above the offer list. It is not required
Title Alignment: If you've added a title, this will determine the justification of that title text.
Alignment: This will allow you to set your offer list to left, right, center, wrap left, wrap right. If your offer list is set to 100% width, the alignment setting won't matter.
Padding: This will put additional space around the showcase (similar to adjusting the thickness of a picture frame that it sits within)
Width: The width of the offer list can be set as a pixel width, or percentage. Remember to use percentages if you want the offer list to be responsive to the page width.
Offer Group: This will give you a drop-down of the available offer groups - you will see both global offer groups and any offer groups you've created.
Max Offers: This will limit the maximum of offers that will display in the offer list.
Type of List: See here for the different options and examples of how they look.
Using the criteria above, you can see how the offer list will appear on a page:
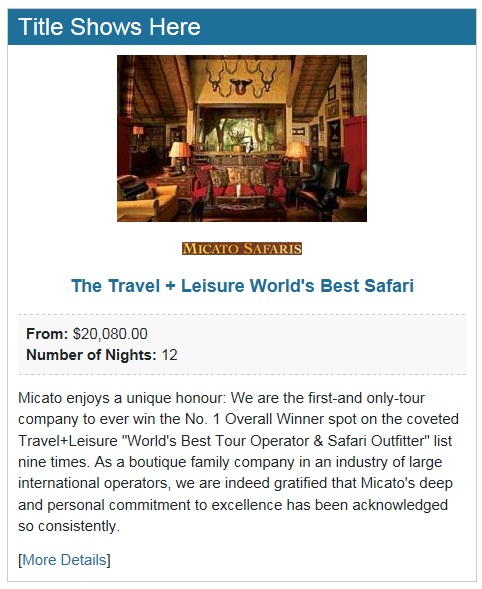
Within a Section as an Offer Highlight
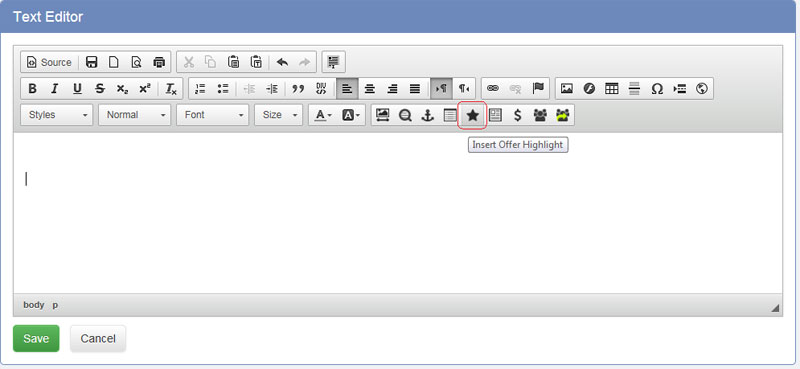
This option allows you to display one offer from an Offer Group to a section on a page. Open the text editor of the section you want to add your Offer Highlight to and select the button to Insert Offer Highlight (a description of the buttons should appear when you hover your mouse over them).
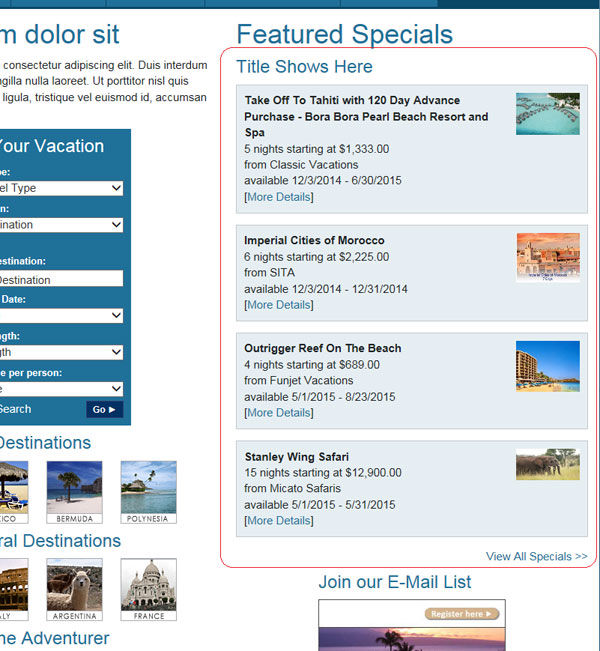
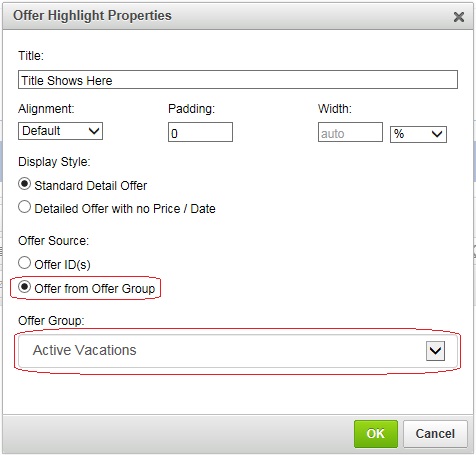
The title is optional and will display above the offered highlight if you choose to fill it in. Select the Offer from Offer Group as the offer source and select which offer group you want the offer pulled from.
Using the above criteria, you can see how the Offer Highlight will appear on a page: